
Lighting Calculation for Commercial Buildings: A Practical Guide for Better Lighting Design
Good commercial lighting is not simply about installing more LED lights. It is about understanding the space, its purpose, ceiling height, furniture layout, required brightness, energy use, and the visual experience you want to create.
For offices, showrooms, hotels, restaurants, retail stores, warehouses, and other commercial spaces, lighting calculation helps determine the right amount and placement of lighting before installation.
At BelyyseLED, lighting design starts with understanding the project and its architectural requirements. From 3D lighting visualization and lighting calculations to luminaire selection and project execution, the aim is to create a lighting solution that is both functional and visually effective.
What Is Lighting Calculation?
Lighting calculation is the process of estimating how much light a space needs and determining the appropriate number, type, output, and arrangement of lighting fixtures.
A professional lighting calculation considers factors such as:
- Floor area
- Required illumination
- Ceiling height
- Luminaire lumen output
- Beam angle
- Light distribution
- Surface colours and reflectance
- Furniture and partitions
- Daylight availability
- Glare
- Maintenance requirements
- Energy consumption
The objective is to achieve suitable illumination without creating unnecessary brightness or wasting energy.
Why Is Lighting Calculation Important for Commercial Spaces?
Every commercial space performs a different function. A corporate office needs comfortable lighting for computer work, while a showroom may require focused lighting to highlight products.
Without proper planning, a project can experience:
- Dark corners
- Excessive brightness
- Uneven illumination
- Glare
- Unnecessary power consumption
- Poor product visibility
- Higher maintenance requirements
- An unbalanced visual environment
A calculated lighting design helps create a more controlled and consistent result.
For architects, builders, interior designers, and commercial property owners, it also makes it easier to plan the lighting layout, fixture quantity, electrical load, and project budget before execution.
Important Lighting Terms You Should Know
Understanding a few basic terms makes commercial lighting calculations easier.
Lumens
Lumens describe the amount of visible light produced by a lighting source.
A fixture with a higher lumen output generally produces more light, but lumen output alone does not determine how bright a room will appear. Fixture optics, installation height, beam spread, and room conditions also affect the final result.
Lux
Lux represents the amount of light falling on a surface.
The basic relationship is:
1 Lux = 1 Lumen per Square Metre
For example, if 10,000 lumens are distributed evenly across 50 m²:
10,000 ÷ 50 = 200 lux
The required lux level depends on the activity being performed in the space.
Wattage
Wattage represents the electrical power consumed by a lighting fixture.
It is important not to select lighting only by watts. Two fixtures with the same wattage can have different lumen outputs and different optical performance.
Lumens per Watt
This indicates lighting efficiency.
Luminous Efficacy = Lumens ÷ Watts
A higher lumen-per-watt figure can help achieve the required light output with lower electrical consumption, provided the fixture is suitable for the application.
Lighting Power Density
Lighting Power Density, or LPD, indicates how much lighting power is installed per square metre.
LPD = Total Installed Lighting Power ÷ Floor Area
It is commonly expressed as W/m² and is useful when evaluating the energy performance of a lighting design.
How to Calculate Lighting Requirements for a Commercial Building
A basic lighting calculation can begin with three important factors:
Area + Required Lux + Lumens per Fixture
The preliminary formula is:
Number of Fixtures = (Required Lux × Area) ÷ Lumens per Fixture
Simple Example
Imagine a commercial office has:
Area: 150 m²
Target illumination: 300 lux
Lumens per fixture: 3,000 lumens
The calculation would be:
(300 × 150) ÷ 3,000 = 15 fixtures
So, approximately 15 fixtures would be required based on this basic calculation.
However, this is only a starting point. A professional lighting design must also consider fixture spacing, mounting height, light distribution, room reflectance, furniture, glare, maintenance factors, and other project conditions.
Step 1: Understand the Commercial Space
Before selecting a fixture, understand how the area will be used.
For example:
Office
Lighting should support computer work, meetings, reading, collaboration, and general movement.
Retail Store
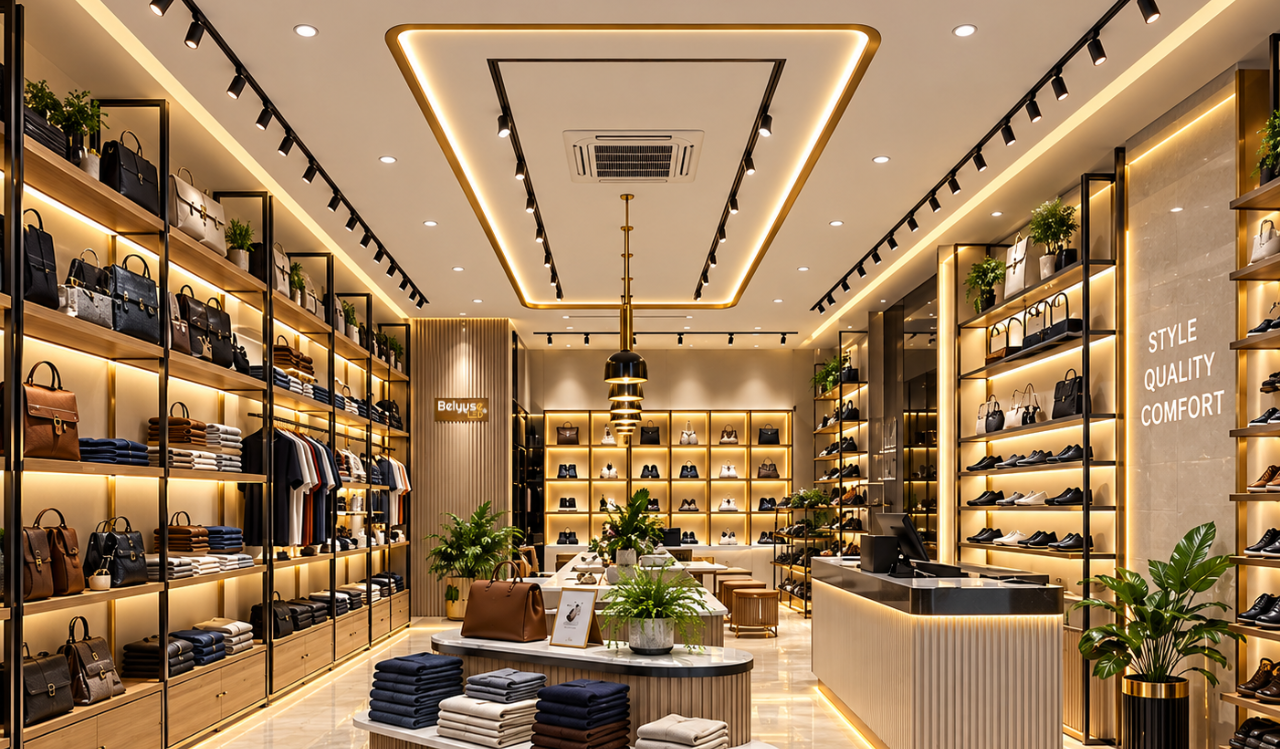
The design may combine general illumination with accent lighting to attract attention to products.
Showroom
Lighting needs to reveal product colours, materials, finishes, and details accurately.
Restaurant
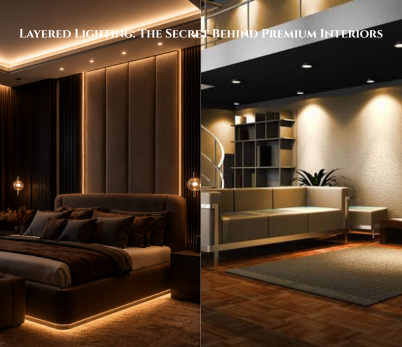
The lighting may combine ambient, decorative, accent, and task lighting to create the desired atmosphere.
Warehouse
The focus is generally on visibility, safety, uniformity, mounting height, and efficient operation.
Hotel
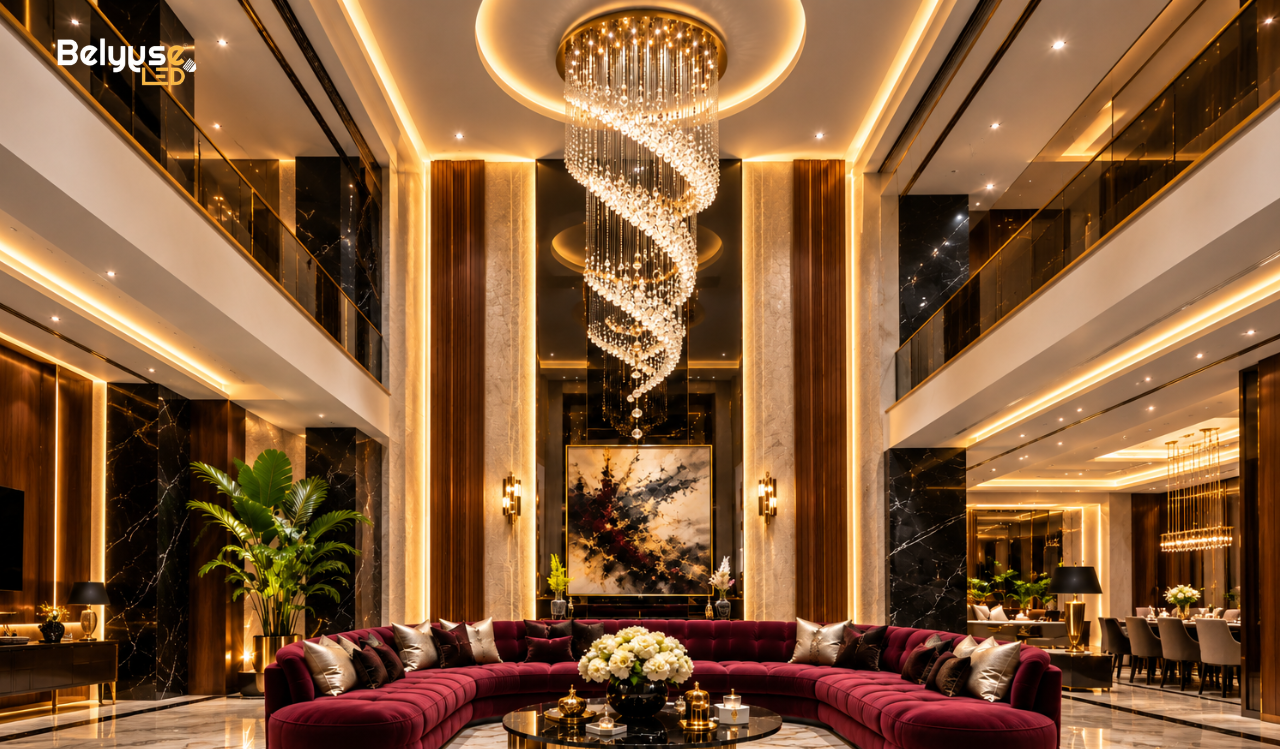
Lighting can include architectural, decorative, ambient, accent, and landscape lighting depending on the area.
The lighting calculation should therefore begin with the function of the space, not with a particular light fixture.
Step 2: Measure the Area Correctly
Accurate dimensions are essential.
Record:
- Length
- Width
- Ceiling height
- Working-plane height
- Windows
- Columns
- Partitions
- Furniture
- Display units
Important architectural features
For example:
Length = 25 metres
Width = 8 metres
Therefore:
Floor Area = 25 × 8 = 200 m²
This information becomes the foundation for the initial lighting calculation.
Step 3: Determine the Lighting Level
The required illumination depends on what happens inside the space.
An office workspace, product display area, corridor, warehouse, and reception area should not automatically be designed with the same illumination level.
Consider:
- Type of activity
- Visual tasks
- Working hours
- Occupancy
- Interior finishes
- Available daylight
- Applicable project standards
The selected target should be appropriate for the specific commercial application and relevant standards.
Step 4: Determine the Total Light Output
Once the target illumination and area are established, the preliminary total lumen requirement can be estimated using:
Required Lumens = Target Lux × Area
For a 200 m² area with a target of 300 lux:
300 × 200 = 60,000 lumens
This gives a preliminary idea of the total light output required.
The final fixture quantity may differ after photometric calculations and layout optimization.
Step 5: Choose the Right Lighting Fixture
This is one of the most important parts of commercial lighting design.
The right fixture should be selected based on the application's requirements rather than simply its wattage.
Consider:
- Lumen output
- Beam angle
- Light distribution
- CRI
- CCT
- Glare control
- Driver quality
- Fixture efficiency
- Dimming options
- Mounting method
- IP rating where required
- Maintenance access
- Expected operating hours
For example, an office may benefit from linear lighting, while a showroom may require a combination of magnetic track lights, spotlights, linear lighting, and accent fixtures.
Step 6: Consider Ceiling Height
Ceiling height can significantly affect lighting performance.
A fixture installed at a low ceiling height may provide concentrated illumination over a relatively small area. The same fixture installed several metres higher may distribute light over a larger area and produce lower illumination at the working plane.
High-ceiling spaces may therefore require:
- Higher-output luminaires
- Suitable beam angles
- Correct fixture spacing
- Appropriate mounting positions
- Careful glare control
This is particularly important for warehouses, atriums, hotels, industrial areas, and large commercial spaces.
Step 7: Plan Fixture Spacing
Simply calculating the number of lights is not enough.
Their position is equally important.
Poor spacing can create:
- Bright spots
- Dark patches
- Uneven walls
- Shadows
- Excessive overlap
- Uncomfortable brightness
A professional lighting layout distributes fixtures according to the room geometry and the light distribution of the selected luminaire.
This is why lighting design should be reviewed on the actual floor plan rather than relying only on a mathematical estimate.
Step 8: Control Glare
A commercial space can have sufficient illumination and still feel uncomfortable if the lighting creates excessive glare.
Glare is particularly important in:
- Offices
- Computer workspaces
- Conference rooms
- Retail stores
- Reception areas
- Hotels
- Showrooms
Optical design, fixture positioning, shielding, mounting height, beam angle, and viewing direction all play a role in visual comfort.
More brightness does not always mean better lighting.
The objective should be the right amount of light in the right location.
Step 9: Consider Colour Temperature and CRI
Lighting quality is not determined only by brightness.
Colour Temperature
Common CCT choices include:
- 3000K: Warm and comfortable
- 4000K: Neutral and balanced
- 5000K and above: Cooler appearance
The right colour temperature depends on the architecture, activity, brand identity, and desired atmosphere.
CRI
Colour Rendering Index (CRI) indicates how accurately a light source reveals colours compared with a reference source.
High-quality colour rendering can be especially important in:
- Fashion stores
- Jewellery showrooms
- Furniture stores
- Hospitality
- Beauty spaces
- Art and display environments
Choosing the appropriate CRI can help products, materials, finishes, and interiors appear more natural.
Step 10: Calculate Energy Consumption
Once the number of fixtures and wattage are known, the connected lighting load can be calculated.
For example:
30 fixtures × 25W = 750W
If the area is 250 m²:
LPD = 750 ÷ 250 = 3 W/m²
This gives the installed lighting power density.
Energy consumption can be reduced further through:
- Efficient LED luminaires
- Dimming
- Occupancy sensors
- Daylight controls
- Scheduling
- Smart lighting systems
- Zonal control
The right solution depends on the building and its operating pattern.
Daylight and Artificial Lighting Should Work Together
Commercial buildings often receive natural light through windows, skylights, and glazed facades.
Instead of designing artificial lighting independently, consider how daylight changes throughout the day.
A good lighting strategy can use:
Daylight + Artificial Lighting + Lighting Controls
For example, areas close to windows may require less artificial lighting during daylight hours, while deeper areas may need additional illumination.
This approach can support both energy efficiency and visual comfort.
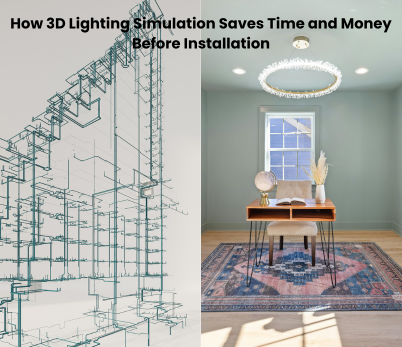
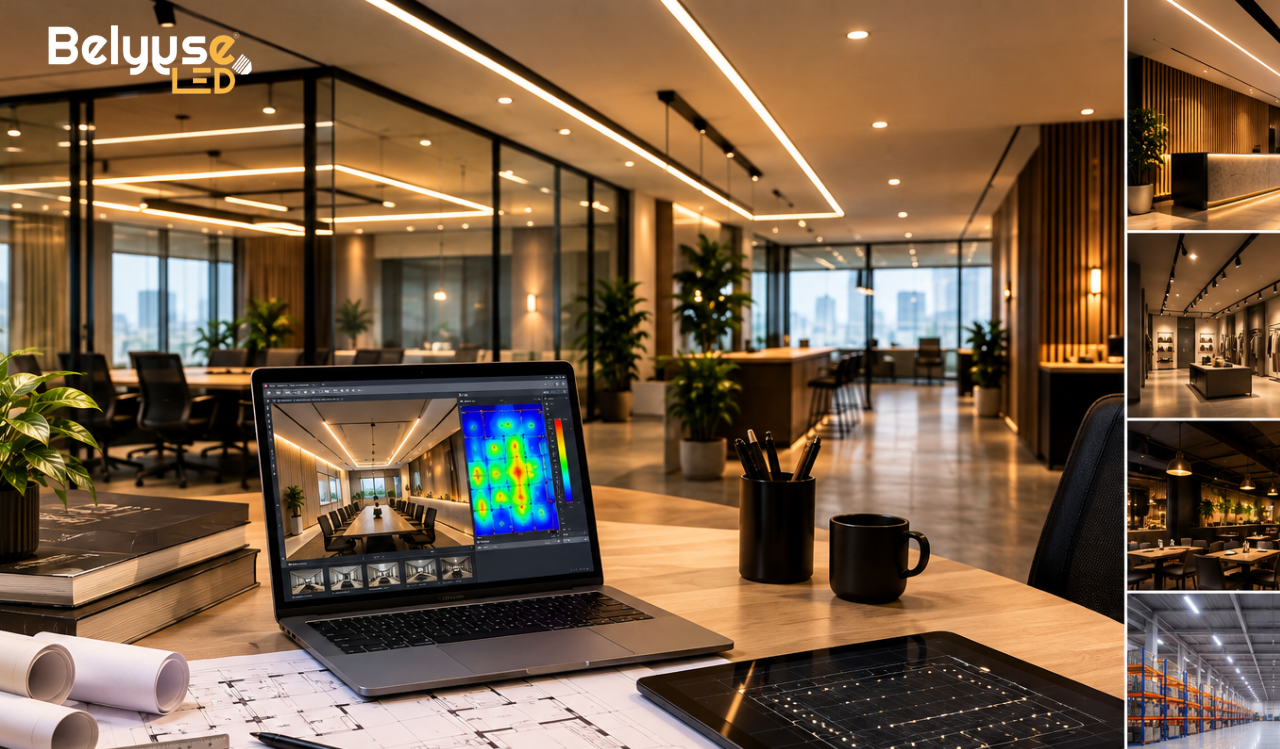
Why 3D Lighting Design Matters
Traditional lighting layouts can show where fixtures are placed, but they may not fully communicate how the finished space will look.
A 3D lighting simulation can help visualize:
- Light distribution
- Brightness levels
- Wall illumination
- Ceiling effects
- Accent lighting
- Decorative lighting
- Colour temperature
- Architectural highlights
At BelyyseLED, 3D lighting visualization can be used as part of the design process to help clients, architects, and designers understand the proposed lighting concept before execution.
This makes it easier to refine the design before fixtures are installed on site.
Common Lighting Calculation Mistakes
Using Wattage as the Main Selection Factor
Watts tell you about electrical consumption, not the complete lighting performance.
Always consider lumen output and optical performance.
Using One Lighting Level for the Entire Building
Different rooms have different functions. Lighting should be designed accordingly.
Ignoring Furniture and Partitions
Workstations, shelves, partitions, and display units can change how light reaches the working area.
Forgetting Ceiling Height
Mounting height directly affects light distribution and illumination.
Installing Lights Without Checking Glare
High-output fixtures can create discomfort when optical control is inadequate.
Ignoring Maintenance
Lighting performance changes over time. Cleaning, driver performance, LED depreciation, and replacement access should be considered.
Designing Without Visualization
A technically calculated design may still need visual refinement. Combining calculation with a lighting layout and 3D visualization can produce a more complete design process.
BelyyseLED: Complete Commercial Lighting Solutions
At BelyyseLED, commercial lighting is approached as a complete project rather than simply supplying individual light fixtures.
Our process can combine:
Project Understanding → Lighting Concept → 3D Design → Lighting Calculation → Fixture Selection → BOQ → Approval → Execution
This approach can be used for:
- Office lighting
- Retail lighting
- Showroom lighting
- Hotel lighting
- Restaurant lighting
- Commercial interiors
- Architectural lighting
- Facade lighting
- Landscape lighting
- Decorative lighting
- Smart lighting solutions
The objective is to create lighting that supports the architecture, improves the user experience, and meets the technical requirements of the project.
Final Thoughts
Lighting calculation for commercial buildings is the foundation of a well-planned lighting system.
It helps determine the appropriate light output, fixture quantity, spacing, electrical load, and overall lighting performance. But successful commercial lighting requires more than mathematics.
The best results come from combining lighting calculations, architectural understanding, fixture performance, glare control, colour quality, energy efficiency, 3D visualization, and professional execution.
With its complete lighting-solution approach, BelyyseLED helps transform commercial spaces from basic illuminated areas into thoughtfully designed environments where light becomes part of the architecture.
BelyyseLED — Illuminate Smarter. Design Better.