





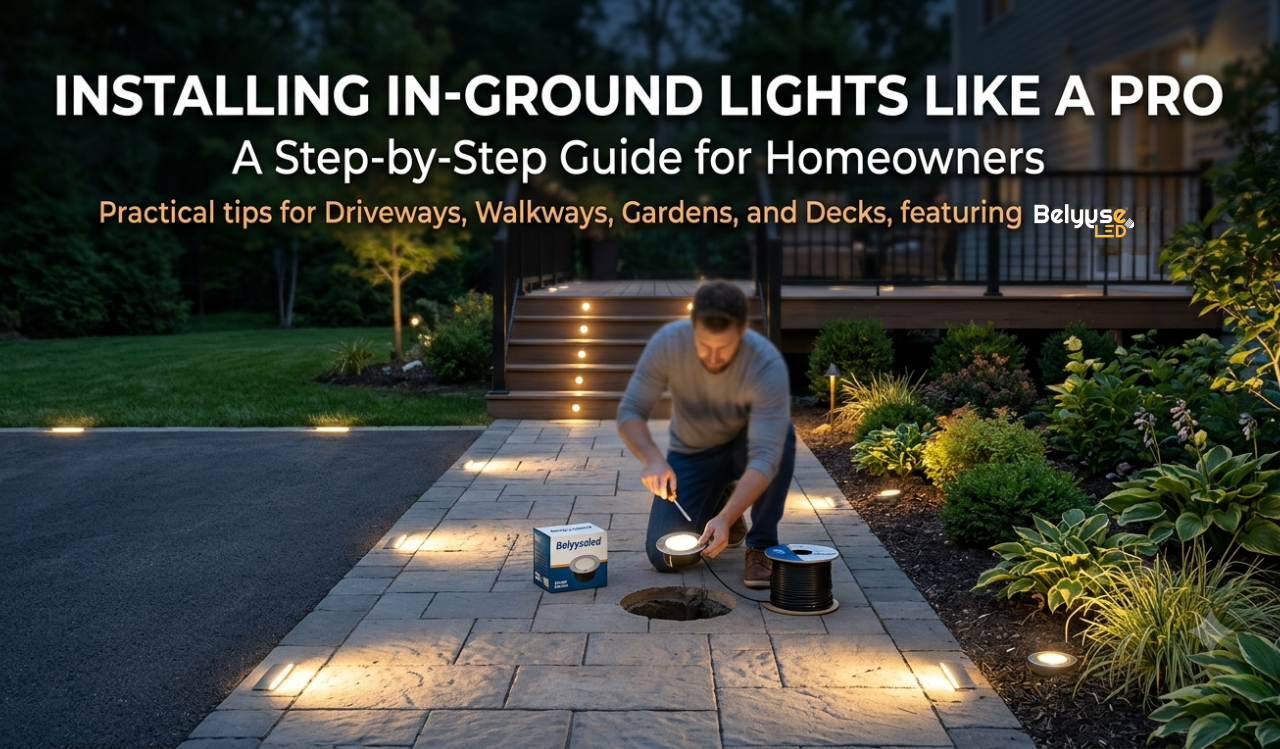
A well-lit outdoor space does more than keep people from tripping over the garden edge. It sets a mood and shows off what you’ve built. In-ground burial lights, also called inground or uplights, do this without cluttering your landscape. Once installed, you see the glow, not the fixture.
This guide covers where these lights work best, what to check before buying, and how to install them. We use Belyyseled burial lights as the example throughout.
What Are In-Ground Burial Lights?
In-ground burial lights are compact, weather-sealed fixtures set flush into the ground, paving, decking or lawn. They point light upward or outward, so the surface or feature around them becomes the star. Because they sit level with the ground, they stay out of the way of foot traffic, mowers and the occasional rolling car tyre.
Belyyseled burial lights are built for this job: a low-profile body, outdoor-ready sealing and LED efficiency. Together these make them a practical choice for homes, shops and hospitality spaces.
Where to Use In-Ground Burial Lights
1. Driveways and Entrances
A line of lights along the edge of a driveway guides cars and visitors at night. The soft glow also makes your entrance look welcoming and keeps the boundary visible in rain or fog.
2. Garden Paths and Walkways
Spaced evenly along a path, burial lights give safe footing without the glare of tall bollards. They suit curved garden paths well, because the light follows the line of the walkway.
3. Patios, Decks and Terraces
Fitted flush into decking or paving, they create a lounge-style glow for evening gatherings. Choose a warm white tone for a cosy feel, or a cooler tone for a modern look.
4. Trees, Shrubs and Statues
Place a light a short distance from the base of a tree and aim it up the trunk. The result is dramatic shadows and textured foliage. The same trick works for sculptures, water features and architectural columns.
5. Building Facades and Walls
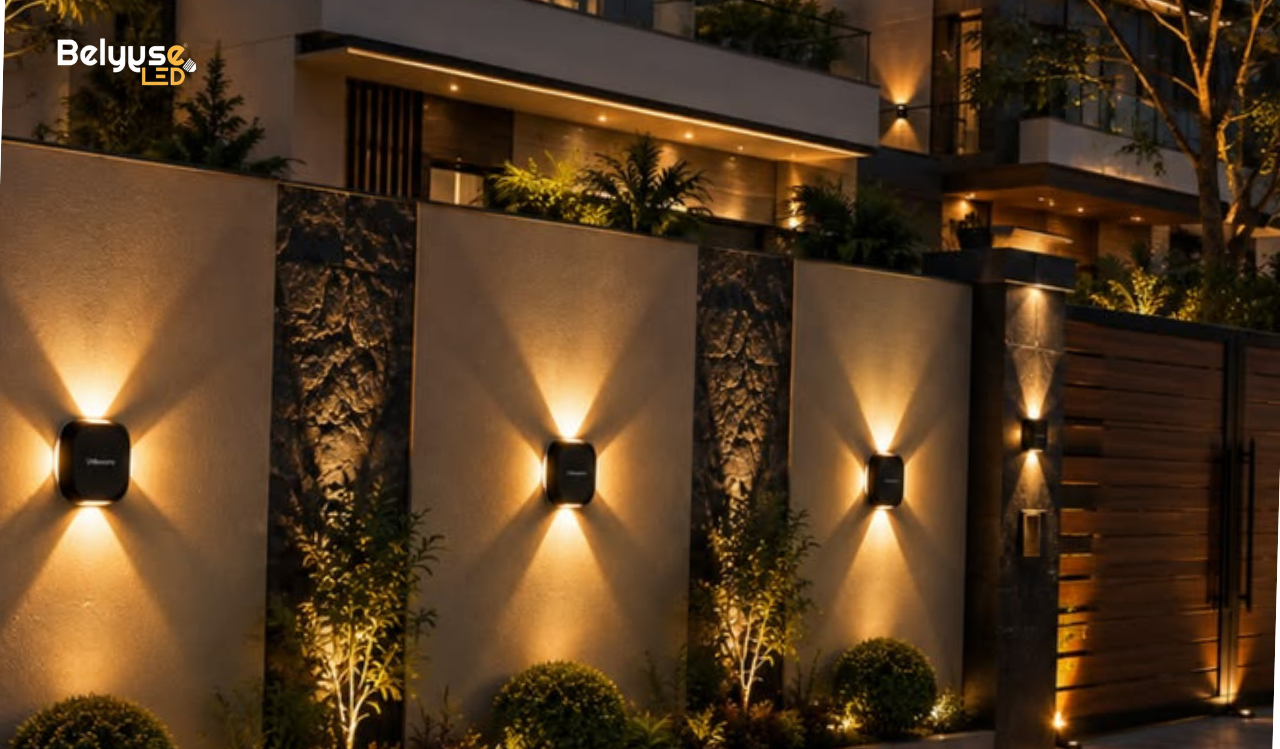
Uplighting a wall brings out its texture, whether brick, stone or timber cladding. Burial lights placed along the base can make a home or storefront look taller and more distinctive.
6. Steps and Pool Surrounds
Lights near steps reduce the risk of falls, and around a pool they add atmosphere. For wet areas, always check that the fixture is rated for it (see below).
7. Commercial Spaces
Restaurants, hotels, shopfronts and parks use in-ground lights for wayfinding and branding, because they keep walkways clear and look tidy.
What to Check Before You Buy
- Ingress protection (IP) rating: Look for a high IP rating, such as IP67 or above, for fixtures that may sit in damp soil or get hit by sprinklers. Check the specific Belyyseled model’s rating on its listing.
- Load rating: If the light will be driven over, make sure it is rated for vehicle weight. Walk-over and drive-over ratings are not the same.
- Voltage: Low-voltage systems are generally safer and easier for DIY work. Mains-voltage systems should be handled by a licensed electrician.
- Colour temperature: Warm white (around 2700K–3000K) feels inviting. Cool white (4000K+) looks crisp and modern.
- Beam angle: A narrow beam highlights a tree or column. A wide beam washes a wall or surface.
- Housing material: Stainless steel or die-cast aluminium resists corrosion better in rain, salt air and garden soil.
How to Install In-Ground Burial Lights
Tools and materials: burial lights, driver or transformer (if low voltage), outdoor-rated cable, waterproof connectors, spade or trowel, gravel, measuring tape, marker paint or stakes.
Step 1: Plan Your Layout
Walk the space at dusk with a torch. Decide what you want to highlight and where light is needed for safety. Mark each spot with a stake or marker paint. As a rule of thumb, spacing lights about 1–2 metres apart works for paths, but adjust for beam width and the effect you want.
Step 2: Map the Cable Route
Map the cable path from the power source to every light point, keeping the route direct, organised, and clear of existing pipes, conduits, and electrical wiring. Before you dig, check for buried utilities in your area.
Step 3: Dig the Holes
Dig each hole slightly wider than the fixture and a little deeper than its body. Add a 5 cm layer of gravel at the bottom so water can drain away from the light. Poor drainage is one of the most common causes of early failure.
Step 4: Lay the Cable
Excavate a shallow trench to position the cable, leaving extra length near each fixture to allow for future adjustments and easy connections. Use cable rated for outdoor and underground use.
Step 5: Connect the Lights
Attach each light to the cable using waterproof connectors. Follow the Belyyseled wiring instructions for your model. Make sure every connection is sealed tightly, since moisture getting into a joint is the main cause of flickering and failure.
Step 6: Test Before You Bury
Power up the system and check that every light works before backfilling. It is far easier to fix a loose wire now than after the soil goes back.
Step 7: Set the Fixtures and Backfill
Place each light in its hole, make sure it sits level and flush with the surface, then backfill around it with soil or gravel and compact it gently. For paving or concrete, fit the light as you lay the surface, or cut a recess to the manufacturer’s measurements.
Step 8: Aim and Fine-Tune
If your fixture has an adjustable angle, tilt it toward your target. Check the effect after dark and adjust where needed.
Safety note: If you are working with mains-voltage wiring, hire a licensed electrician. When in doubt, get professional help.
Maintenance Tips
- Wipe the lens every few months, because dirt and mineral deposits dim the output.
- Clear leaves, mulch and grass clippings from around the fixture.
- Check seals and connectors once a year, especially after heavy rain or a harsh winter.
- Keep the drainage gravel clear so water doesn’t pool around the housing.
Common Mistakes to Avoid
- Skipping drainage. Standing water shortens the life of any light.
- Over-lighting. Too many lights create glare. Aim for pools of light with shadows between them.
- Ignoring the load rating. A walk-over light under a car tyre will not last.
- Using the wrong connectors. Indoor connectors do not belong outdoors.
- Forgetting to test. Always test before you backfill.
Frequently Asked Questions
- Can I install burial lights in a lawn?
Yes. Choose a fixture suited to turf, keep the lens just above or flush with the grass line, and add gravel beneath for drainage. - Are in-ground lights safe to walk on?
Most are designed for foot traffic, but always confirm the load rating for your specific model. - Do I need a transformer?
Low-voltage fixtures need a driver or transformer to step power down. Check your Belyyseled model’s specifications for its voltage requirements. - How long do LED burial lights last?
LEDs generally last for many thousands of hours, and with proper sealing and drainage, they can serve you for years.
Final Thoughts
In-ground burial lights are one of the simplest ways to make a space safer and more attractive after dark. With thoughtful placement and careful installation, a set of Belyyseled burial lights can turn a plain driveway, garden or entrance into something you’ll enjoy looking at every evening.
Ready to light up your outdoor space? Explore the Belyyseled range and pick the fixtures that fit your project.